Setting up the portal
Turn the client portal on and choose what every client sees by default.
Open Workspace Settings (under Administration in the sidebar) and go to the Client Portal tab.
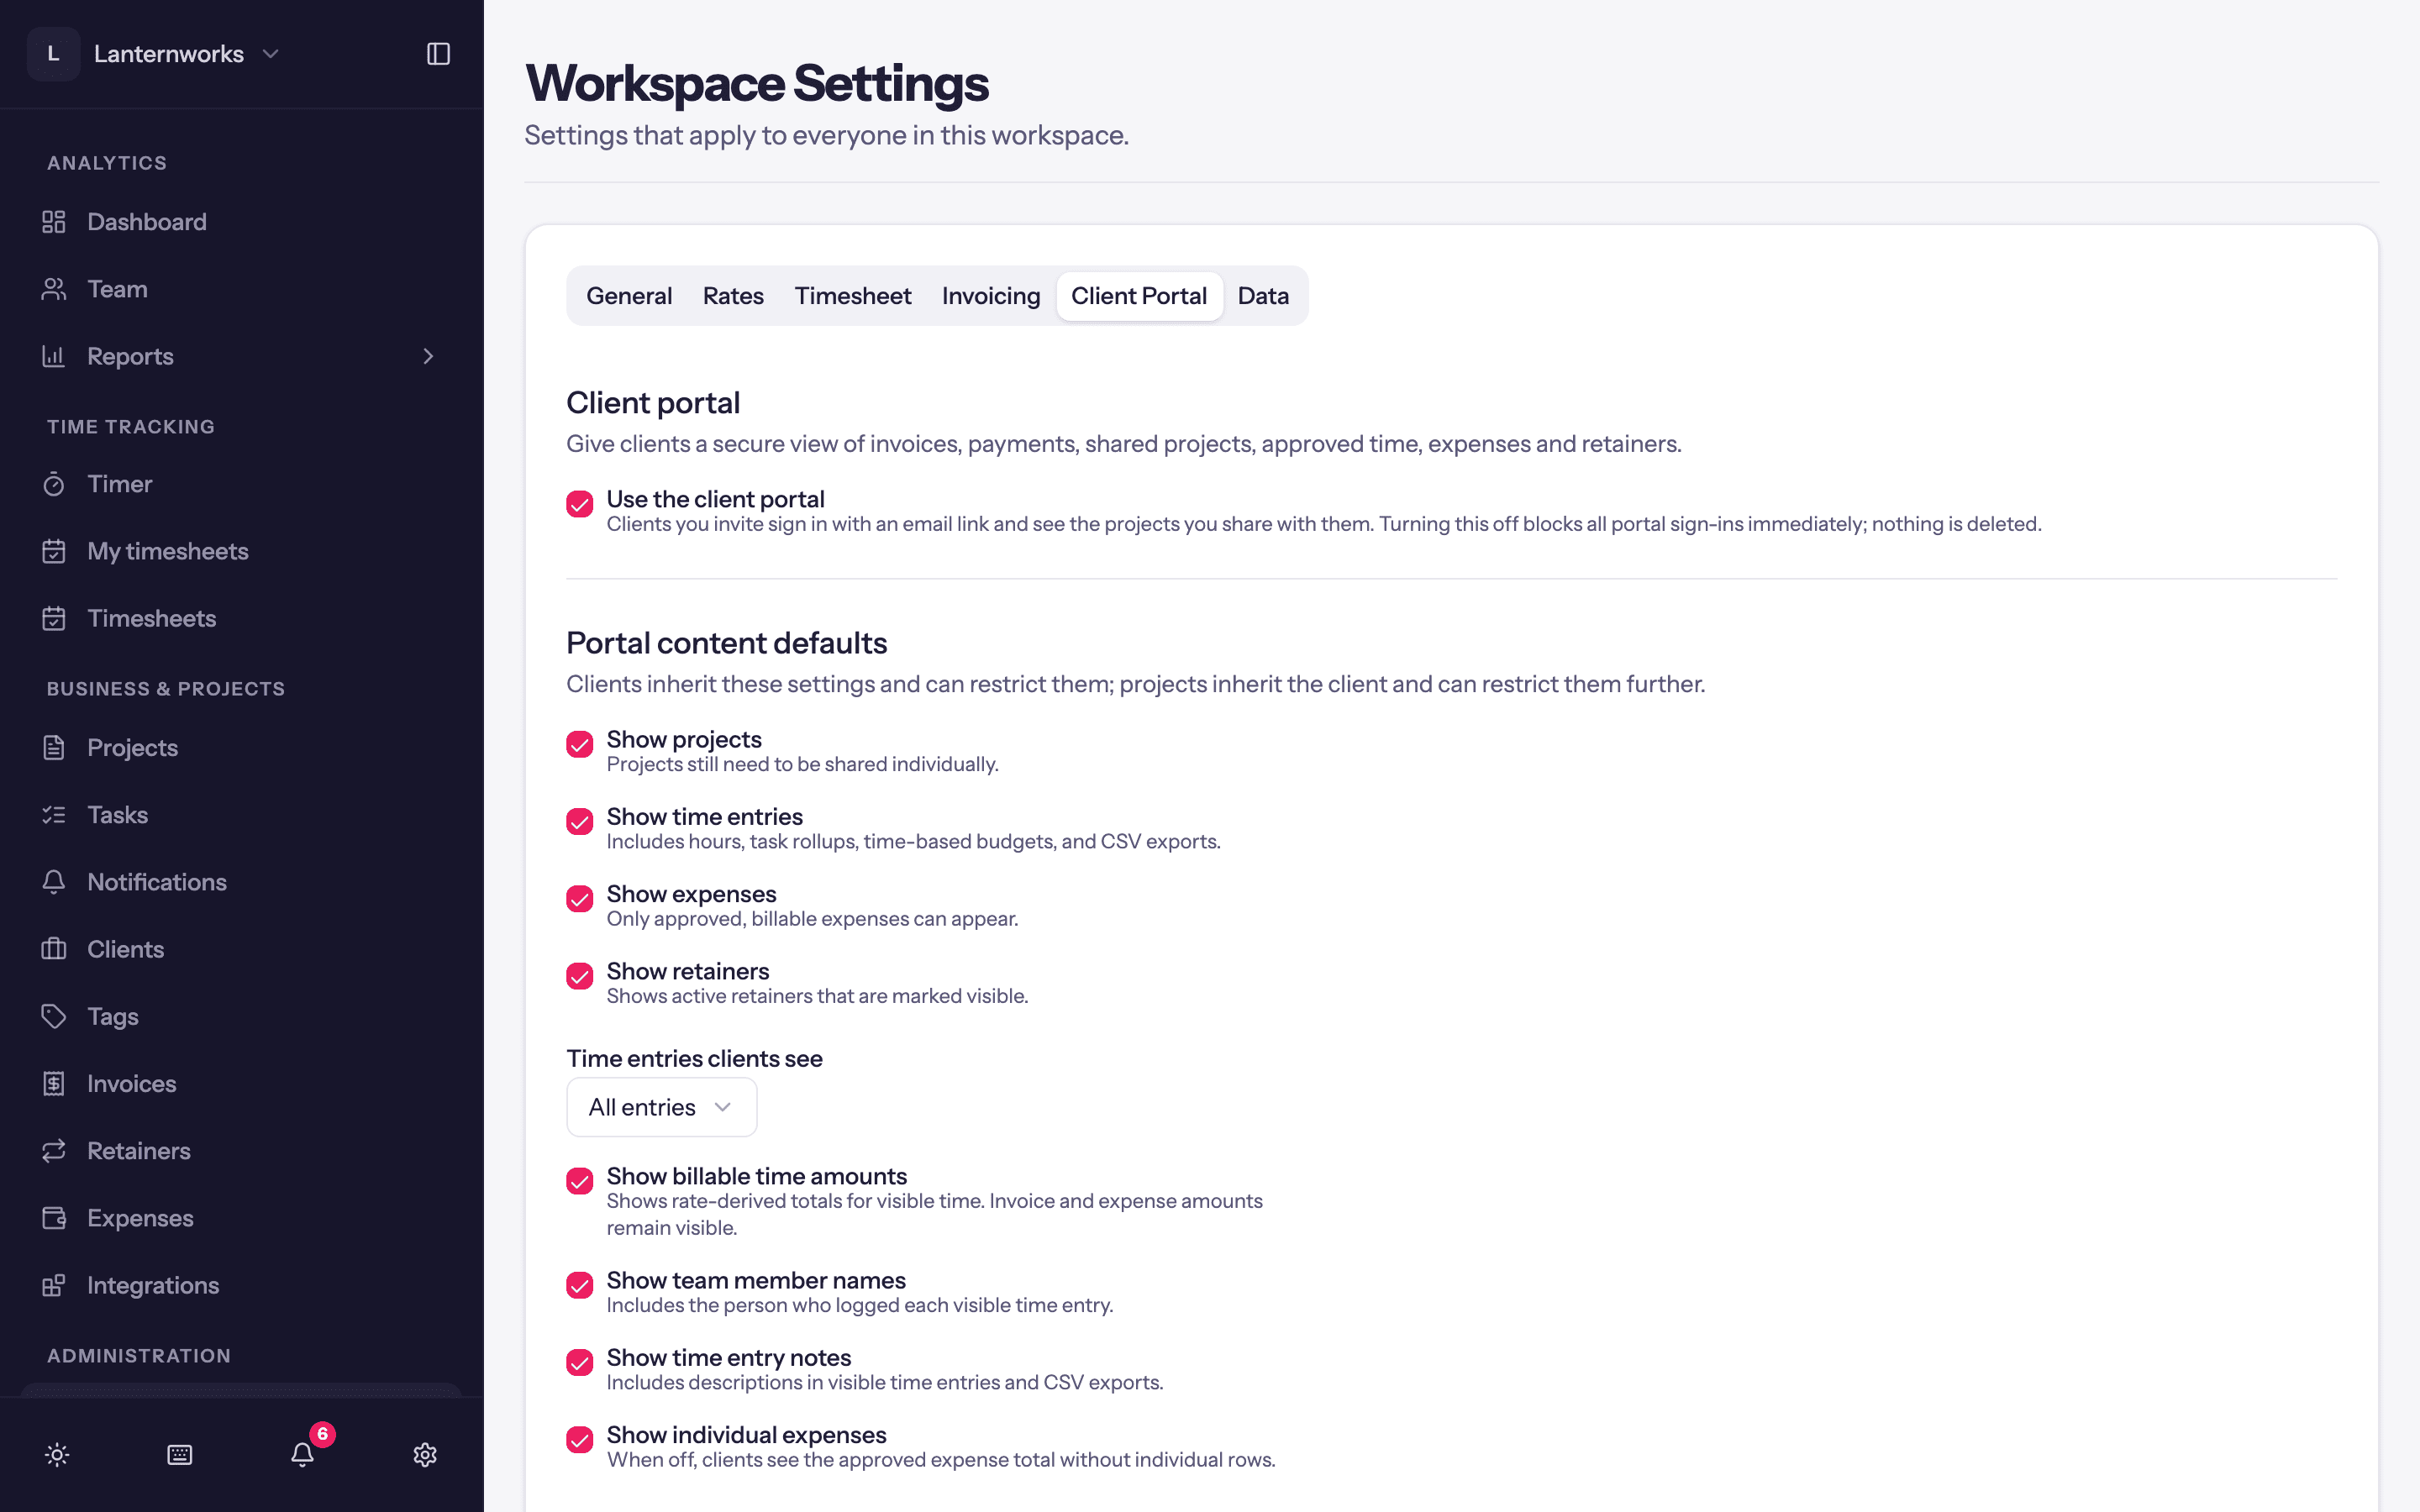
Turn it on
Tick Use the client portal. Clients you invite then sign in with an email link and see the projects you share with them. Unticking it blocks every portal sign-in straight away; nothing is deleted.
Portal content defaults
These are the workspace defaults. Each client inherits them and can restrict them further, and each project inherits its client and can restrict further again. See What clients see.
| Setting | What it does |
|---|---|
| Show projects | Projects can appear. Each project still has to be shared on its own. |
| Show time entries | Hours, task rollups, time-based budgets and CSV exports. |
| Show expenses | Only approved, billable expenses can appear. |
| Show retainers | Active retainers that are marked visible. |
| Time entries clients see | Approved entries only (the default), Invoiced entries only or All entries. |
| Show billable time amounts | Rate-derived totals for visible time. Invoice and expense amounts stay visible either way. |
| Show team member names | The person who logged each visible time entry. |
| Show time entry notes | Descriptions on visible time entries and in CSV exports. |
| Show individual expenses | Off shows clients the approved expense total without the individual rows. |
| Budget display | Hidden (the default), Progress only or Progress with amounts. A project still needs a budget. |
| Portal display name | Shown in the portal header and sign-in emails. Leave it empty to use your workspace name. |
Click Save Changes.
Next
Invite a client, and connect Stripe if you want clients to pay invoices by card. Preview portal on a client works before the portal is switched on, so you can check what they will see first.